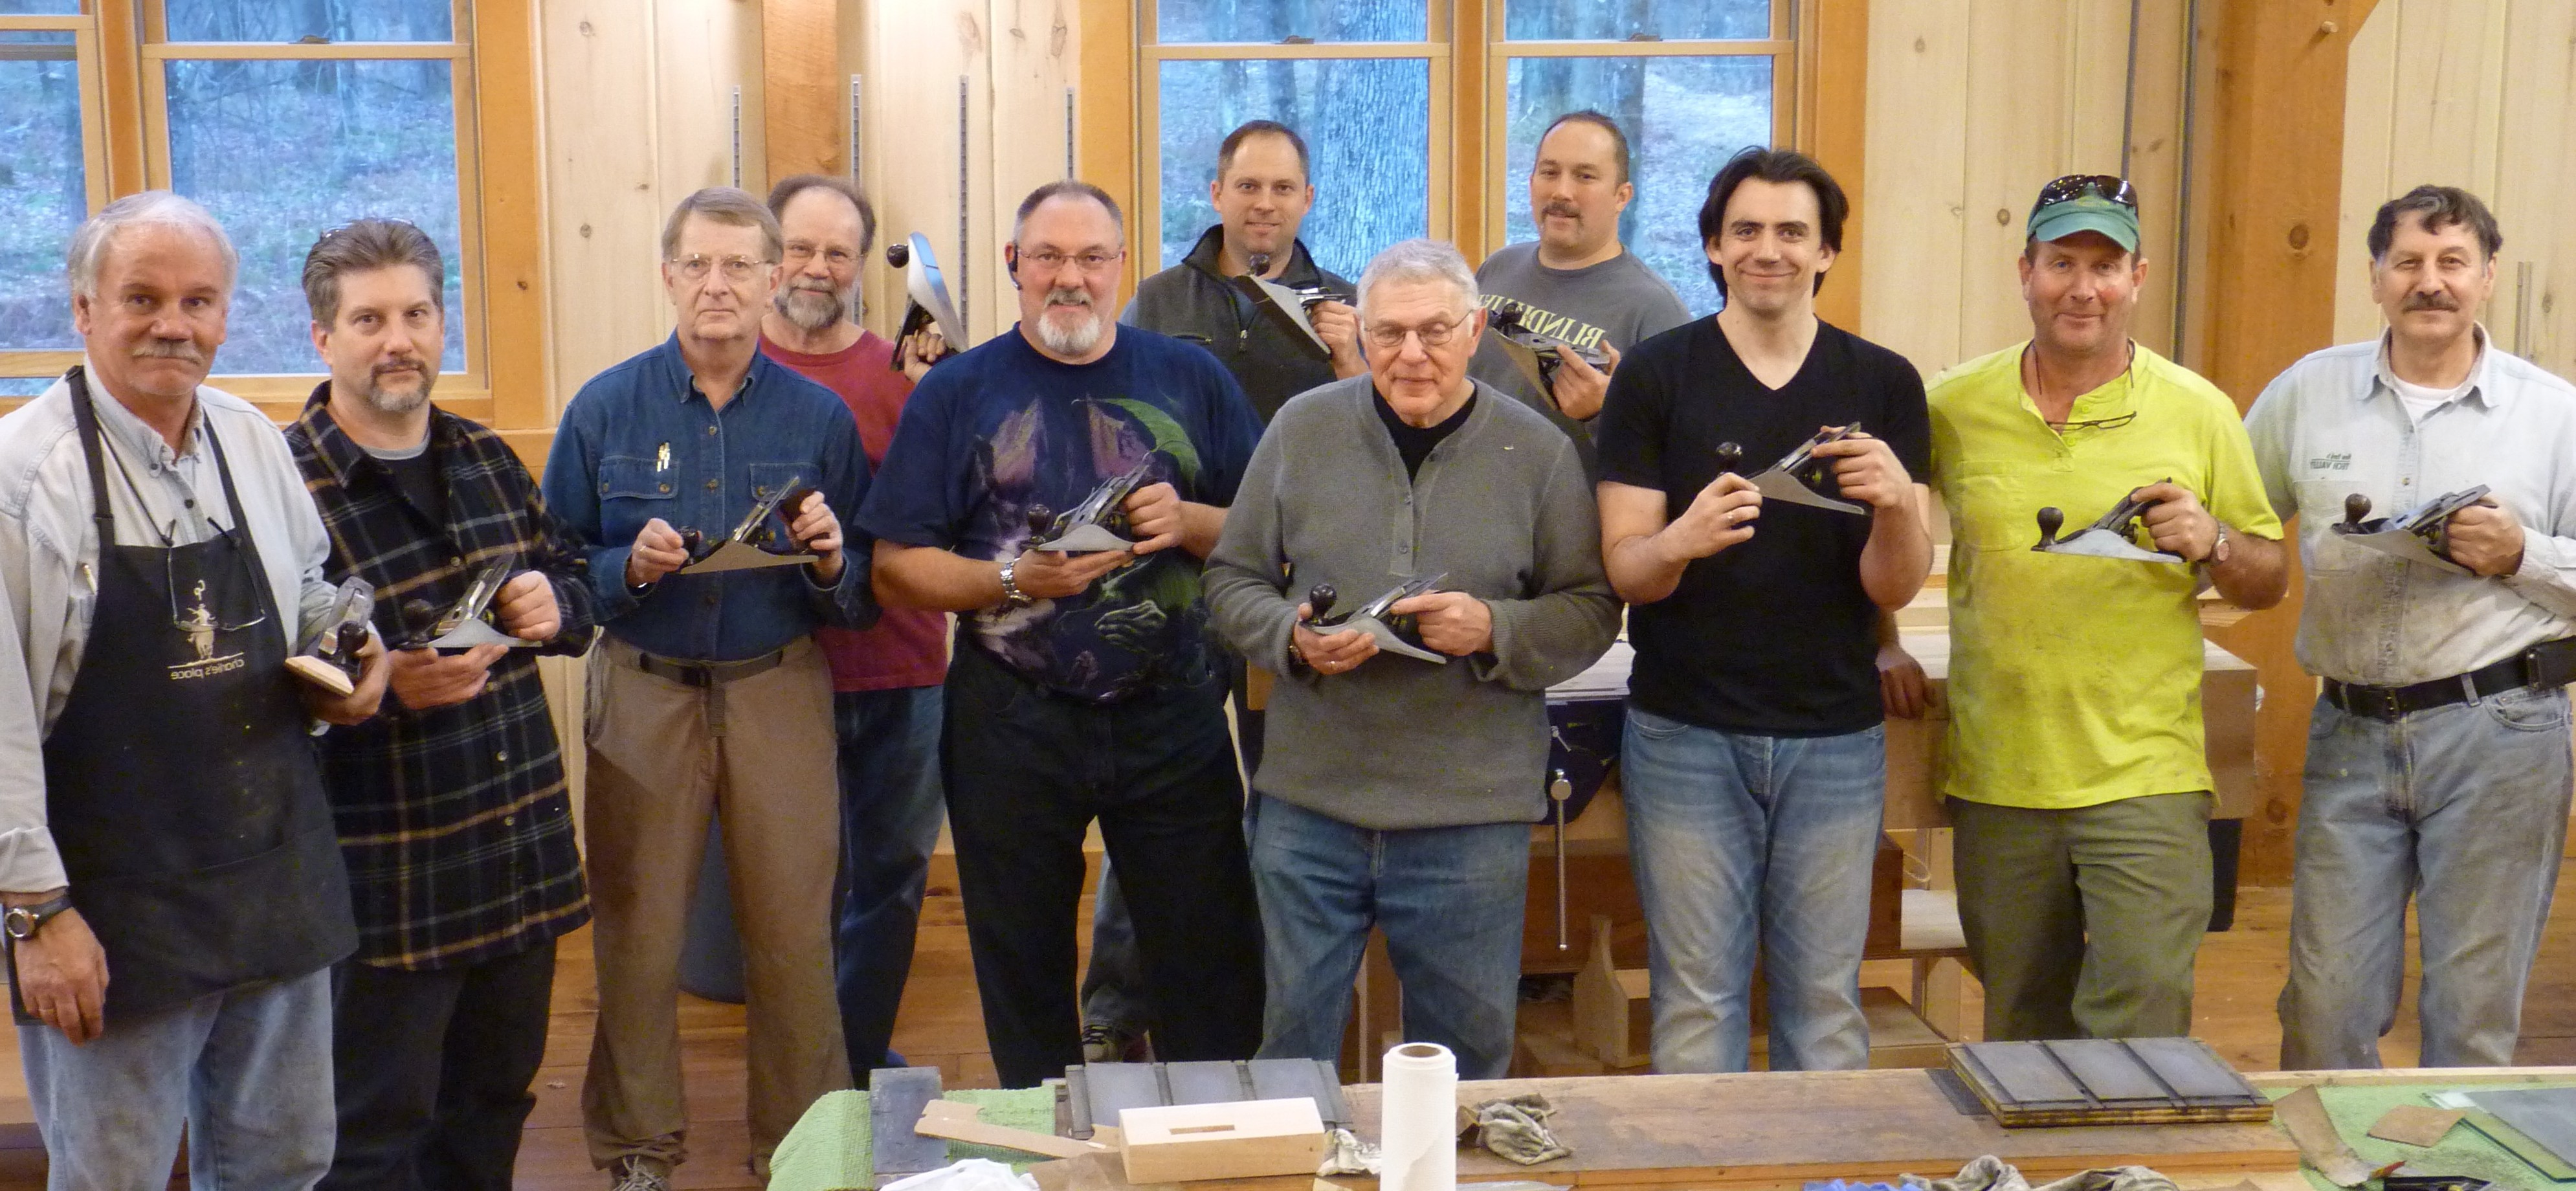
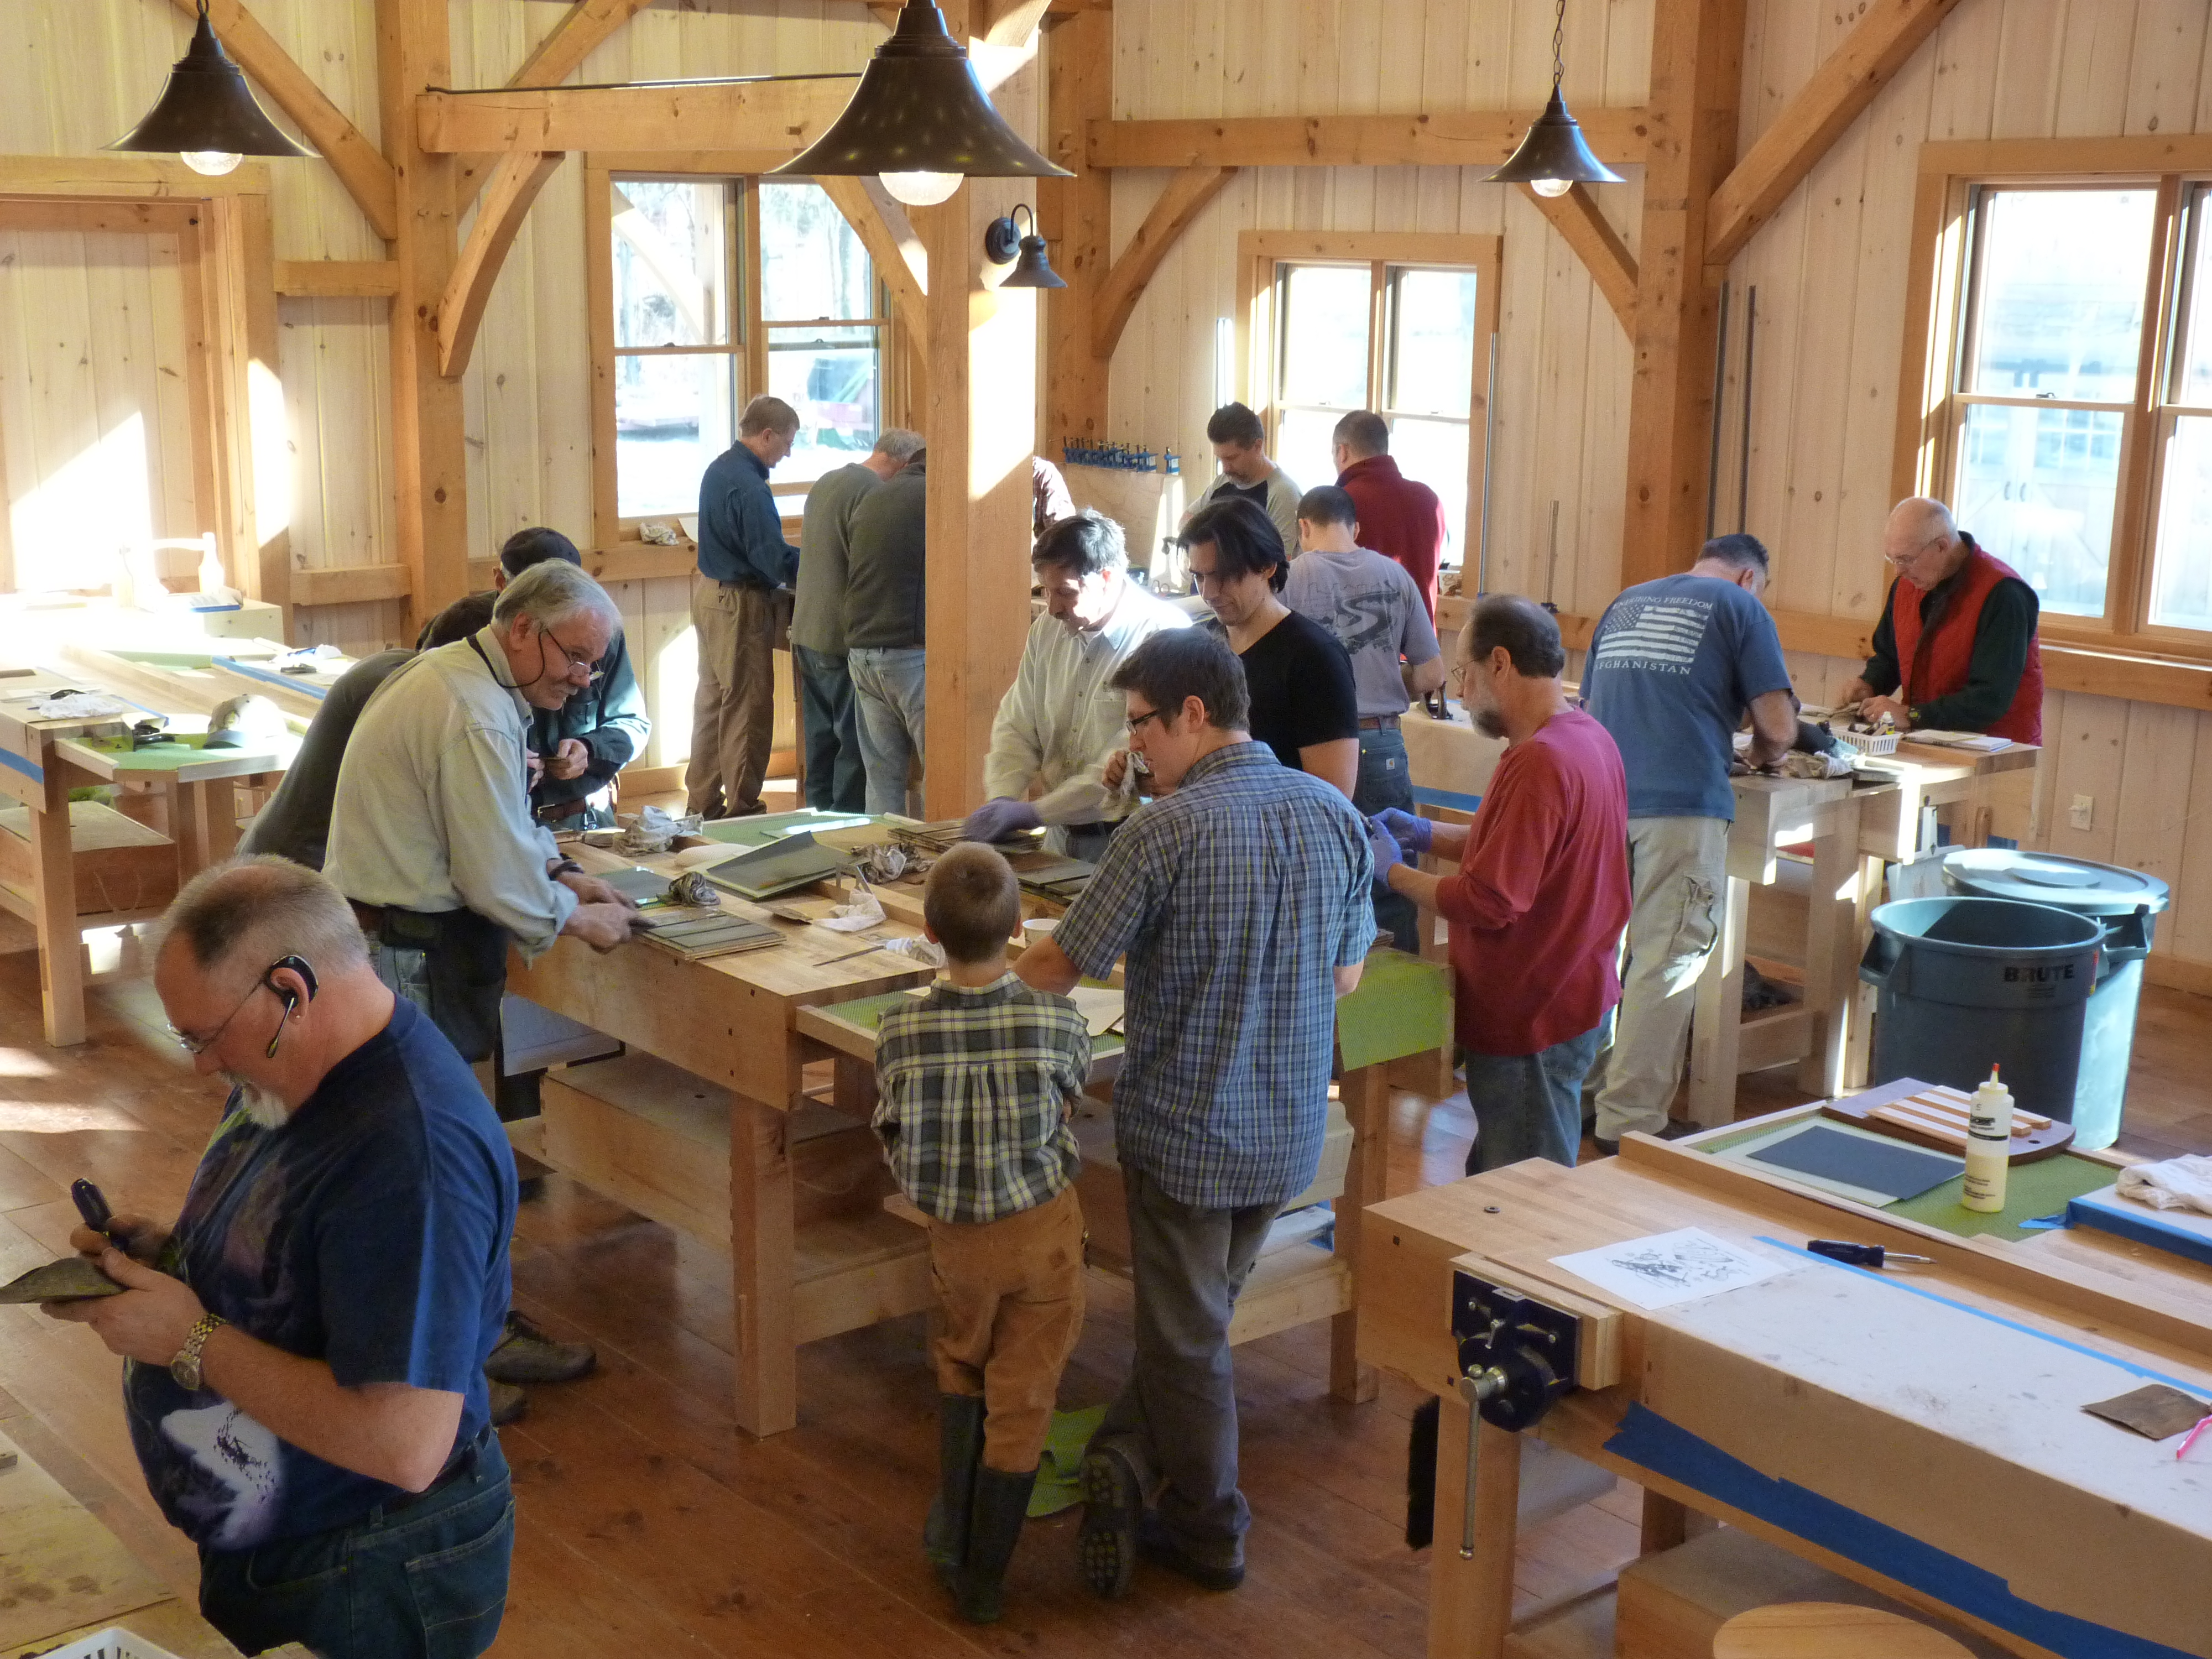
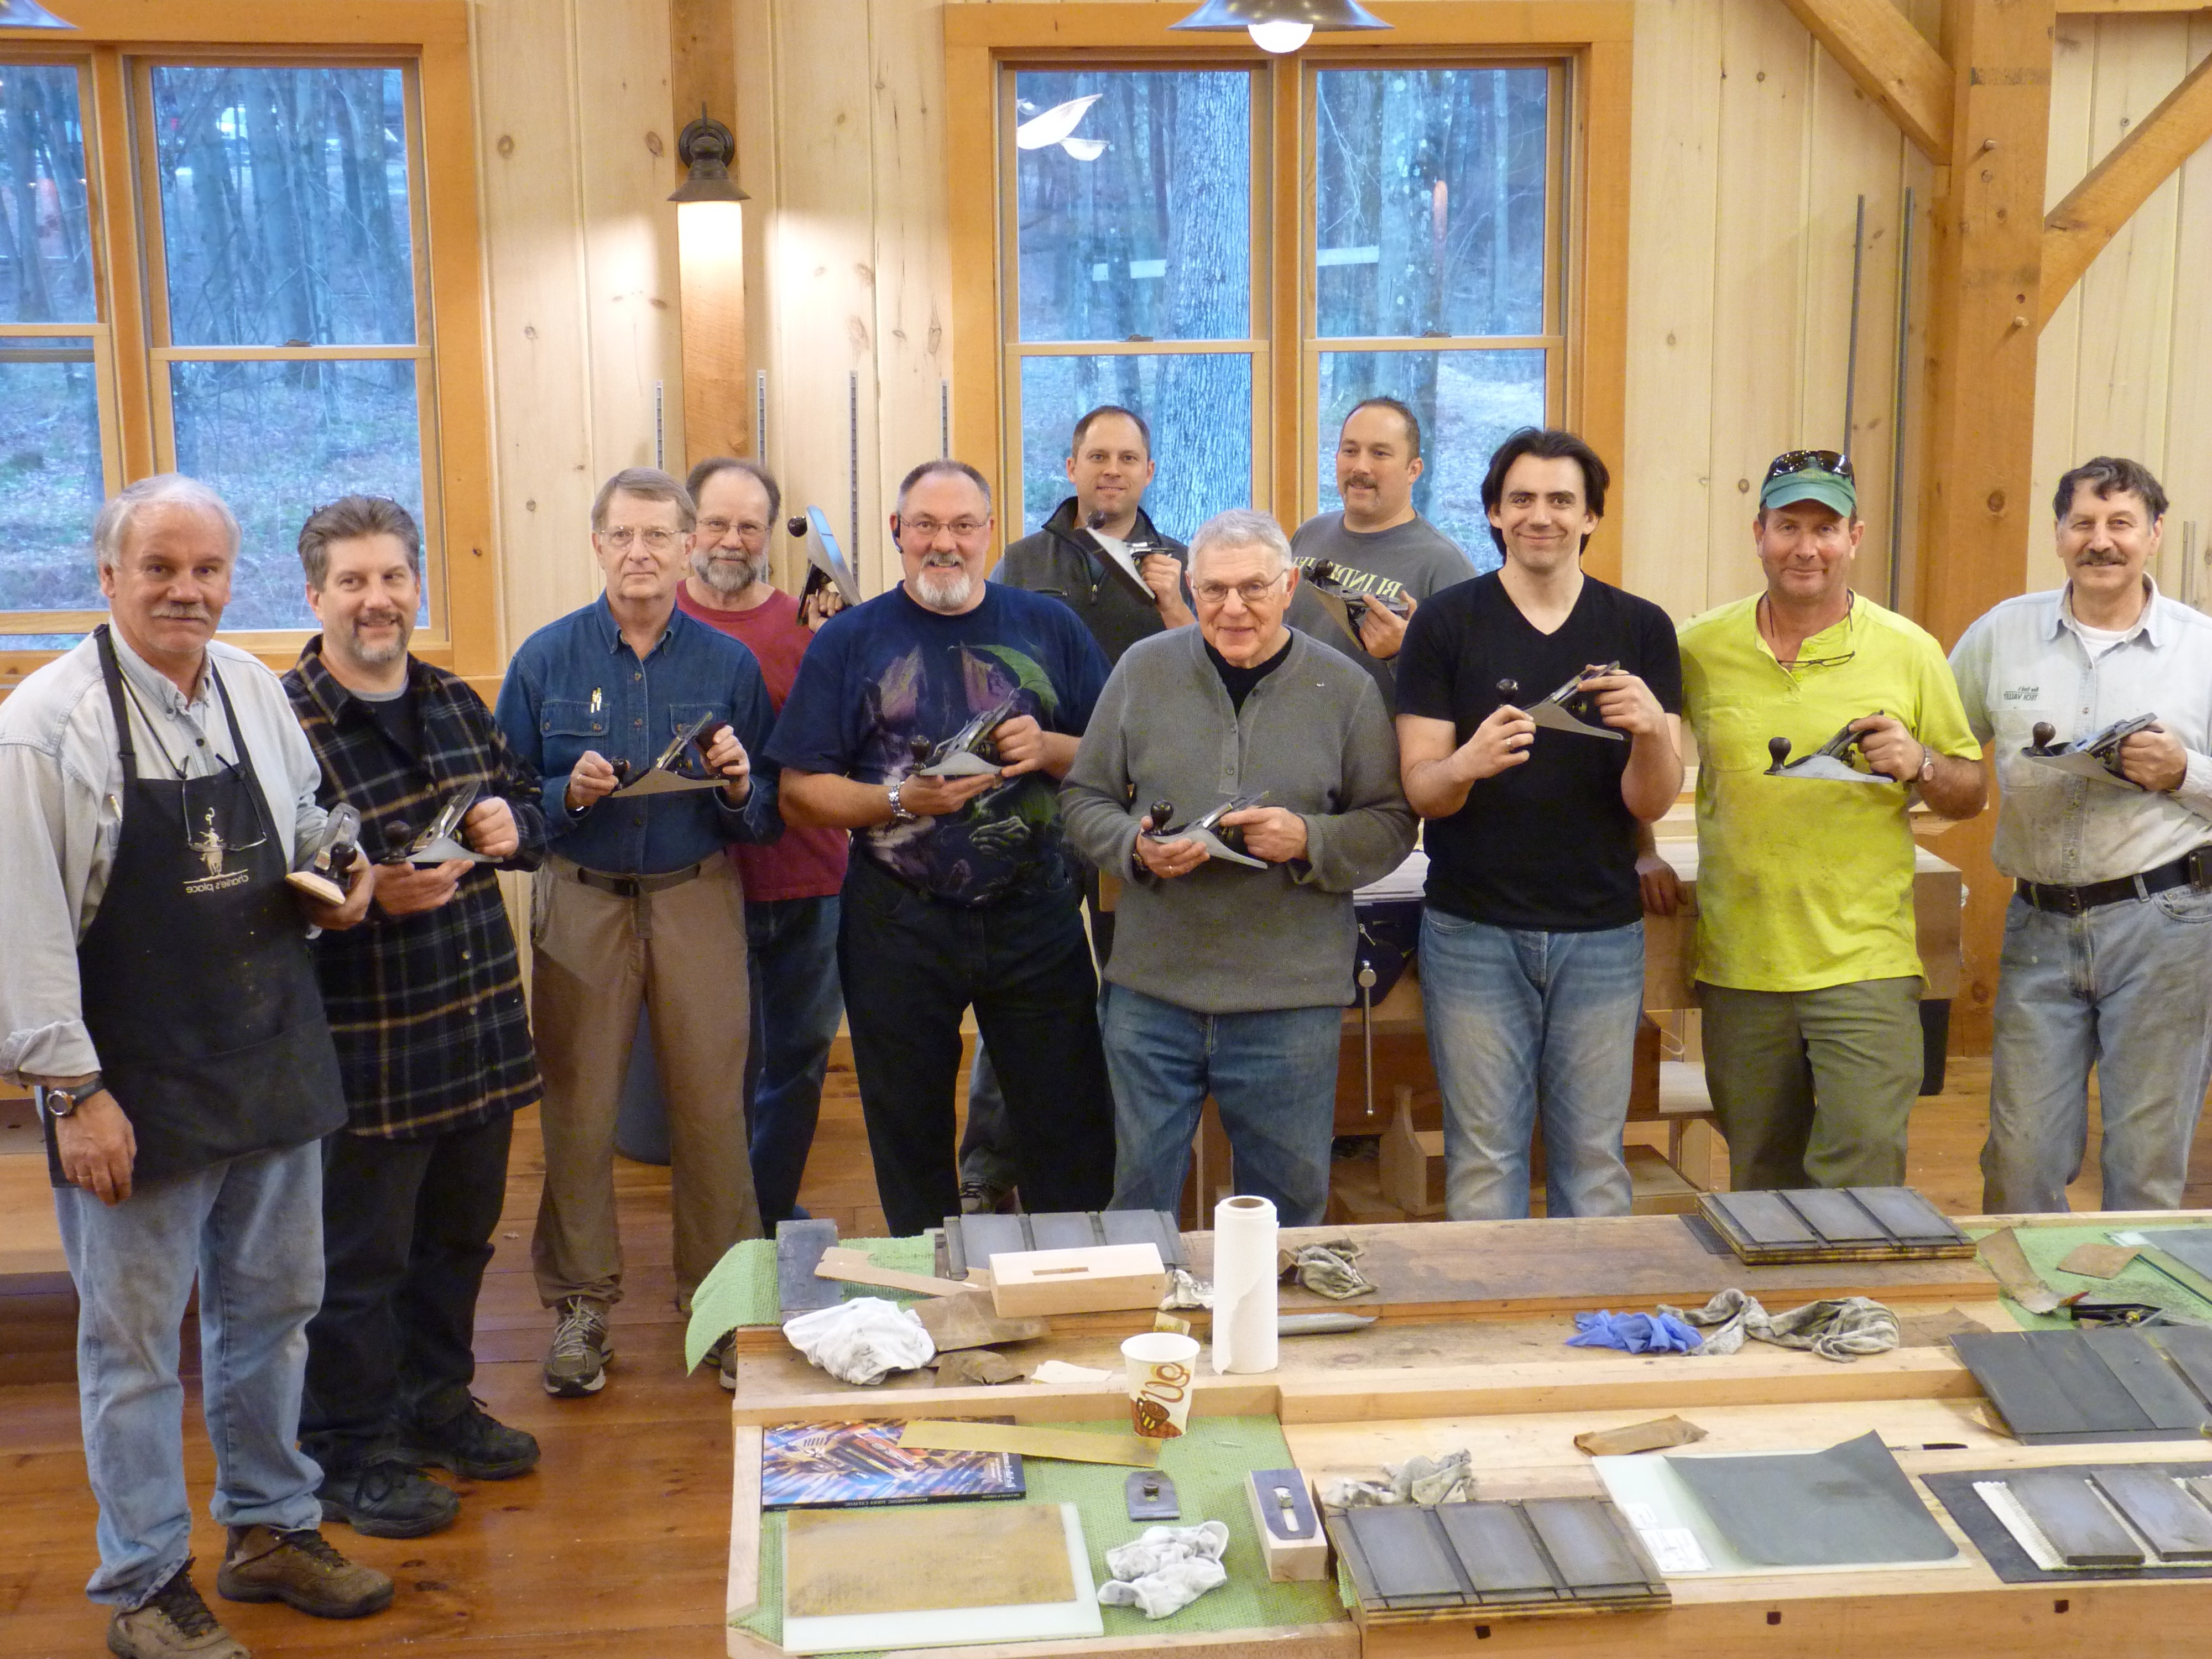
Can an old rusty Stanley hand plane really be brought back to better-than-new condition in only a few hours? In our recent hand plane restoring class, fifteen woodworkers spent their Saturday cleaning, flattening and sharpening a plane that would become theirs to keep. By the end of the day, everyone was using these old Stanley #4 workhorses to raise panels, create roundovers, plane rough stock four-square and take shavings of less than one-thousandth of an inch.
We spent the morning going through the three stages of restoring these Bailey pattern planes ranging from the 1920’s to the 1950’s (skipping the WWII era due to the plastic adjustment wheels). Logan Simms, our capable and knowledgable workshop assistant had the task of procuring all of the planes over the last few months. He manages to to find all rosewood handles with no cracks and cutting irons that were in workable condition. This workshop could not have happened without his excellent work on eBay and working with some local tool purveyors.
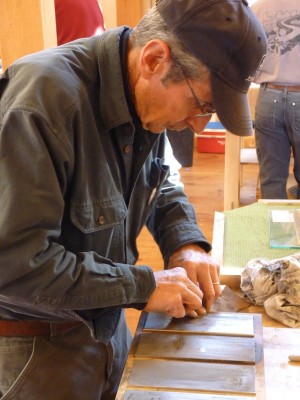
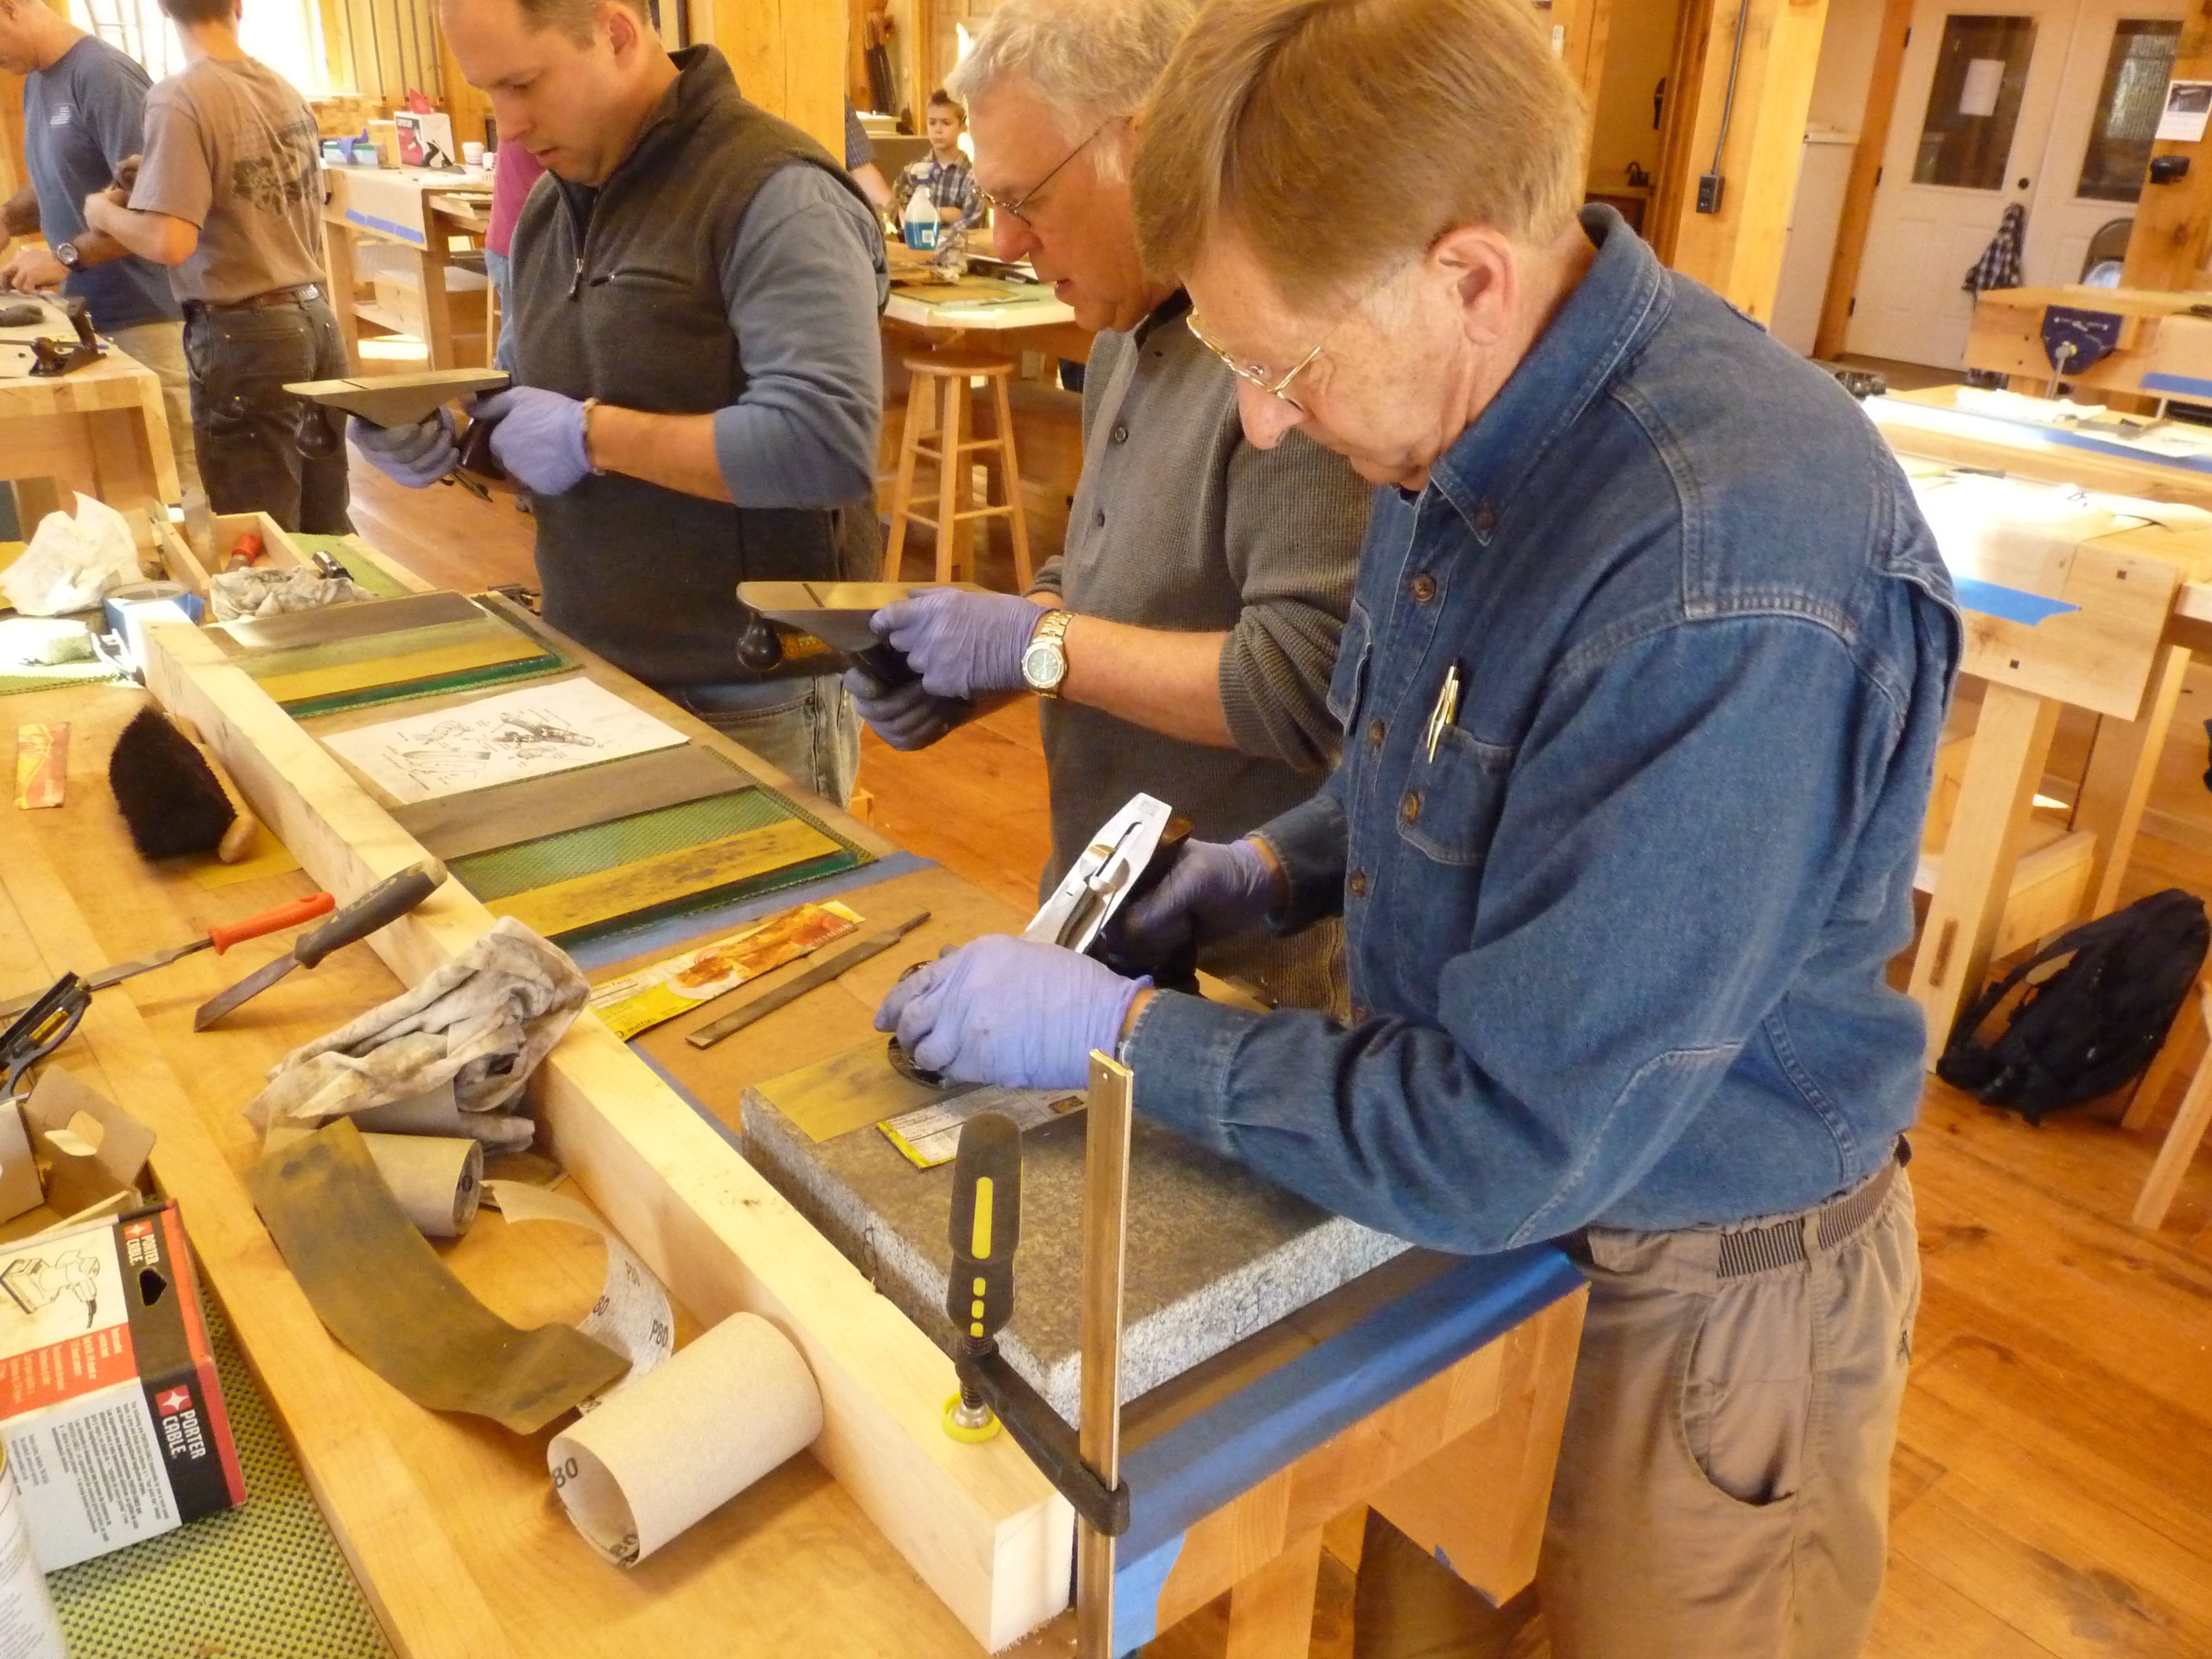
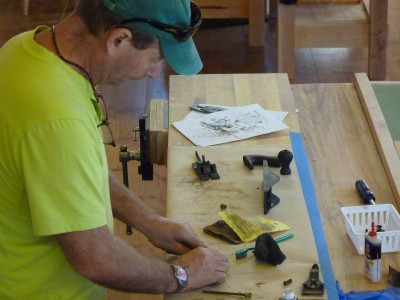
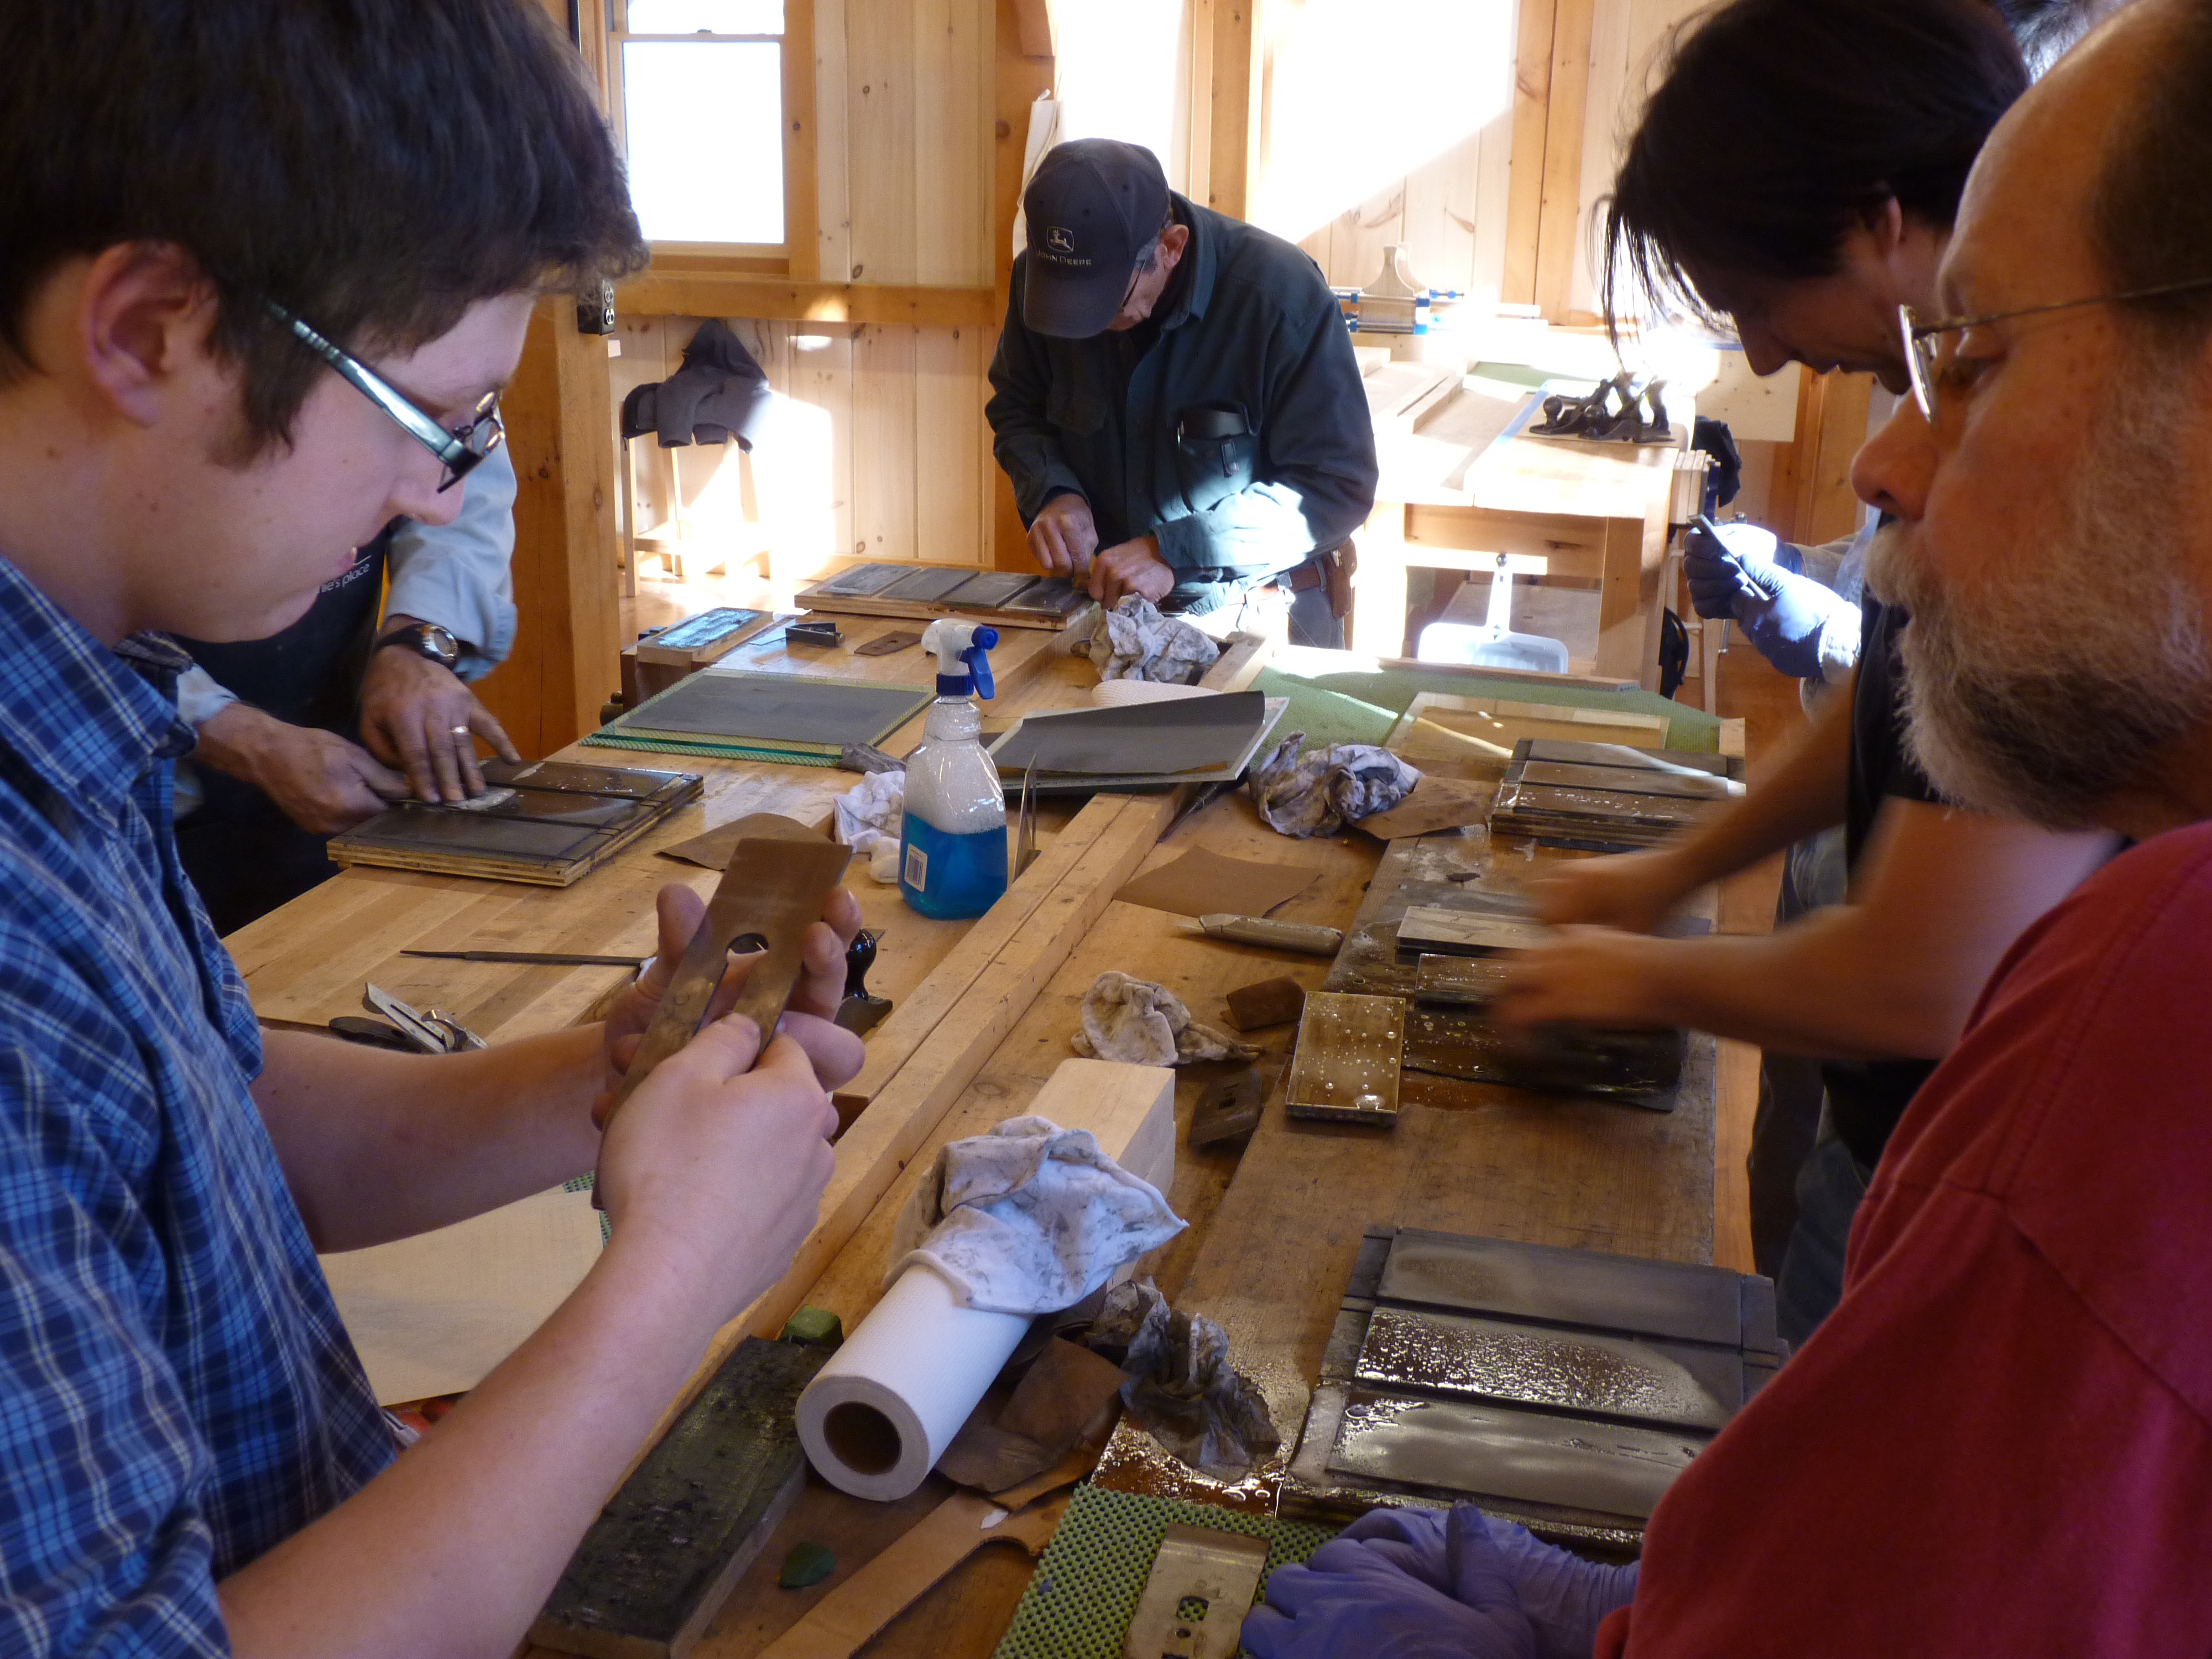
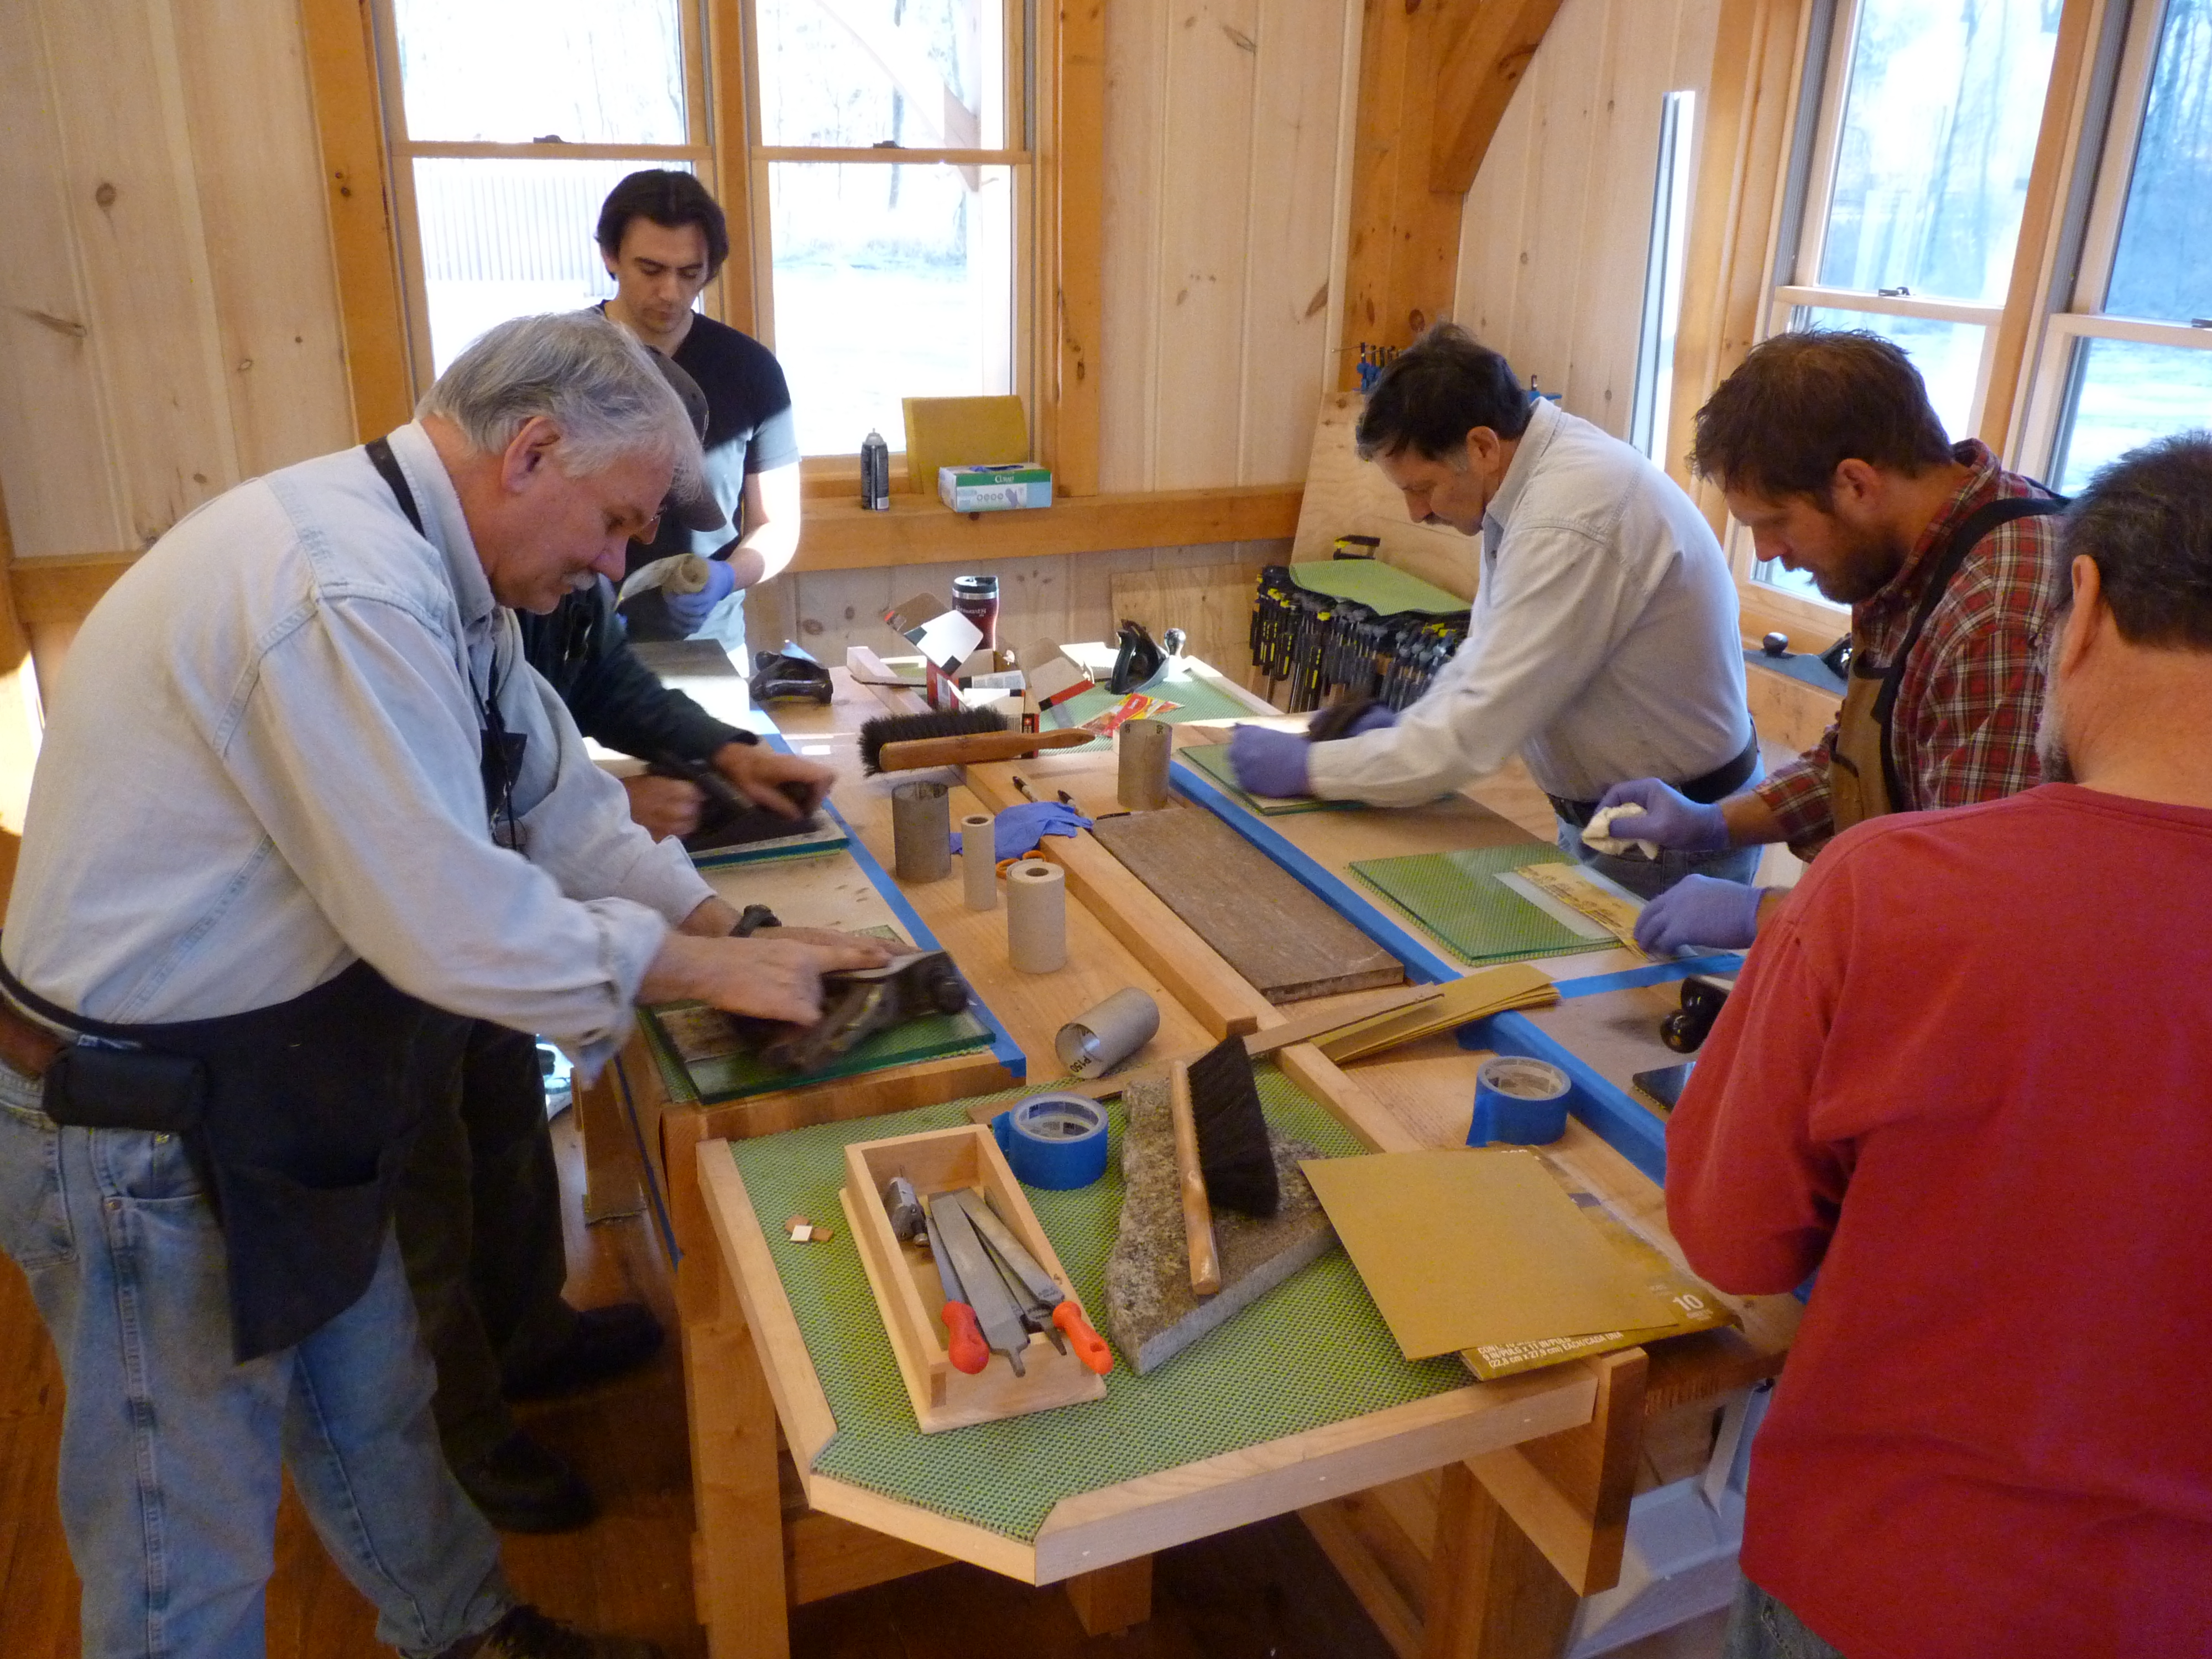
Stage 1 – Flattening the Sole – Jacob Fruchter led participants through the process of flattening the sole of the planes using flat granite and glass plates and 150 sandpaper. We worked through the process of flattening the sole of the plane with the plane fully assembled and the cutting iron backed off to assure the proper tension. We finished off the soles with 220 grit and softened the rough edges with a file. One crucial step at this stage is using a cereal box or other thin piece of cardboard to ease both edges of the sole with just a few passes on the sandpaper. This assures the edges of the sole are not digging into the wood or preventing the proper functioning of the cutting iron.
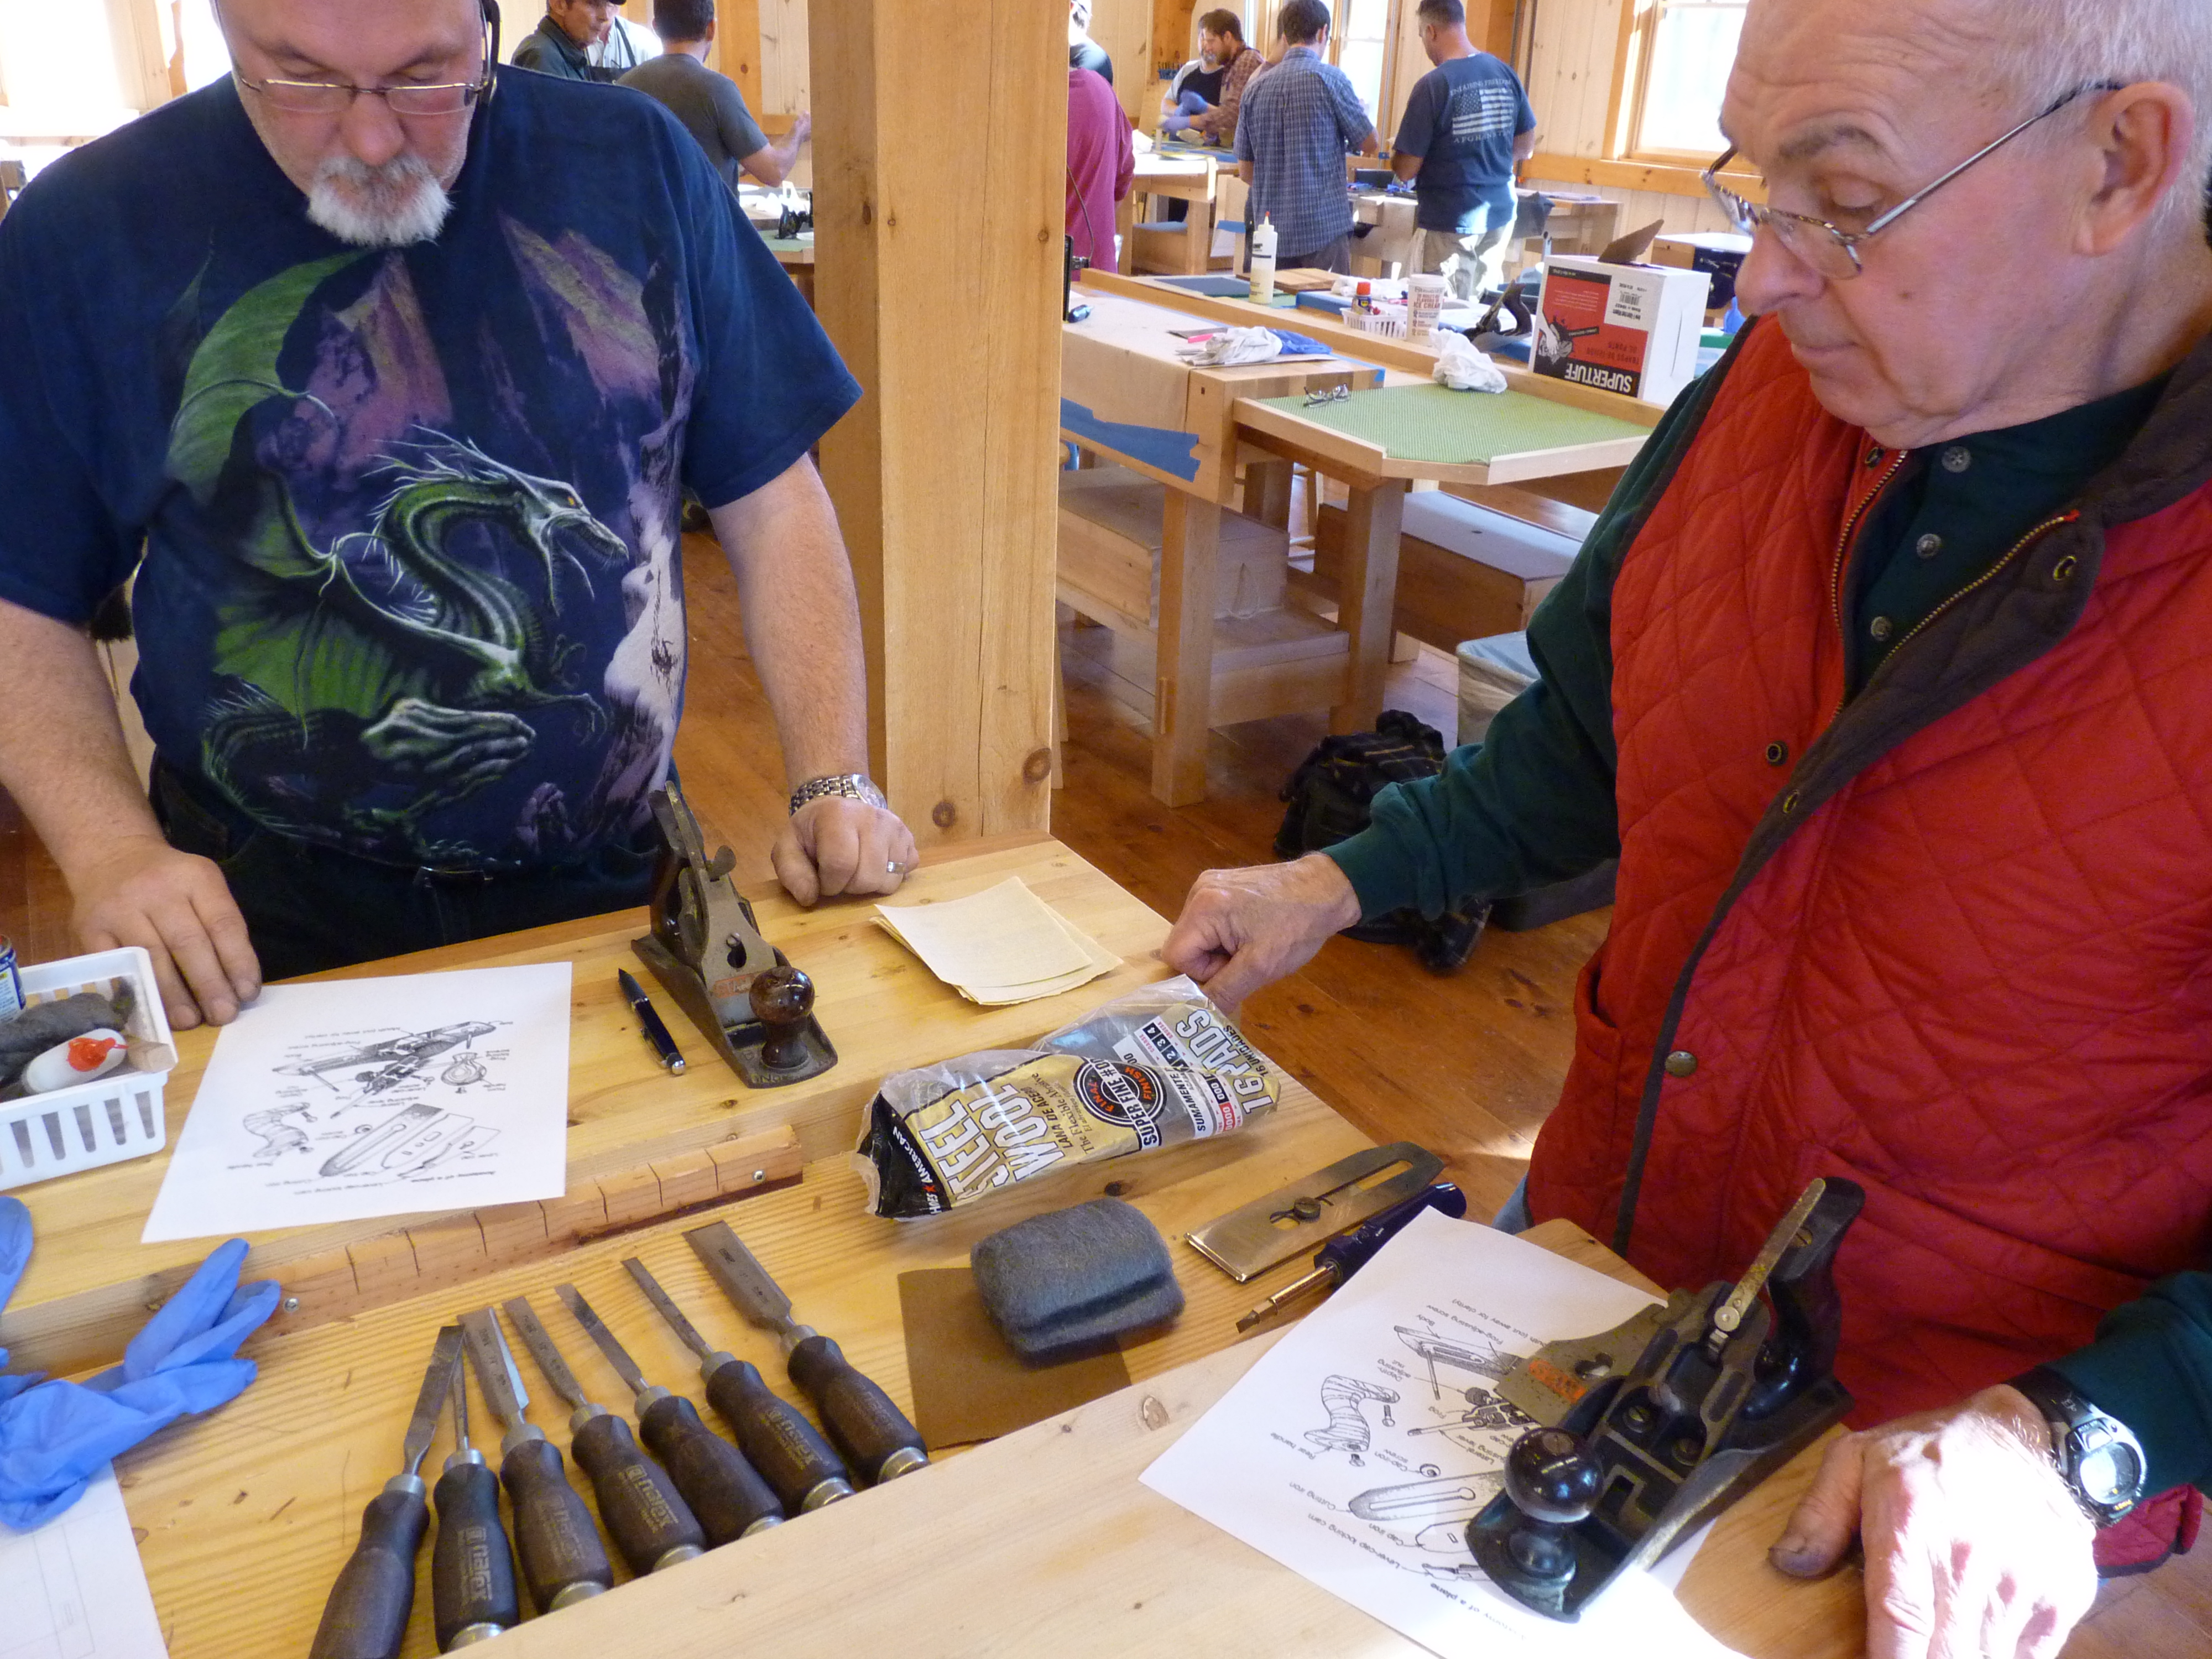
Stage 2 – Sharpening the Cutting Iron – Arien Cartrette and Logan helped out at the sharpening station, where the bulk of the work is flattening the back of the cutting iron. This process can take up to an hour if there is any significant low spots or fixing the “sharpening” of previous owners. We worked through the sharpening stones (100 grit only if needed, 250, 800, 1200), wet dry sandpaper (1500 – 2000) and then on to the leather strop charged with 15,000 grit aluminum oxide honing compound. Once the back of the iron is dead flat, we begin the process of free-hand sharpening the bevel to a macro-camber shooting for 30 degrees. We also ease the edges of the cutting iron to prevent digging into the wood when planing wider boards.
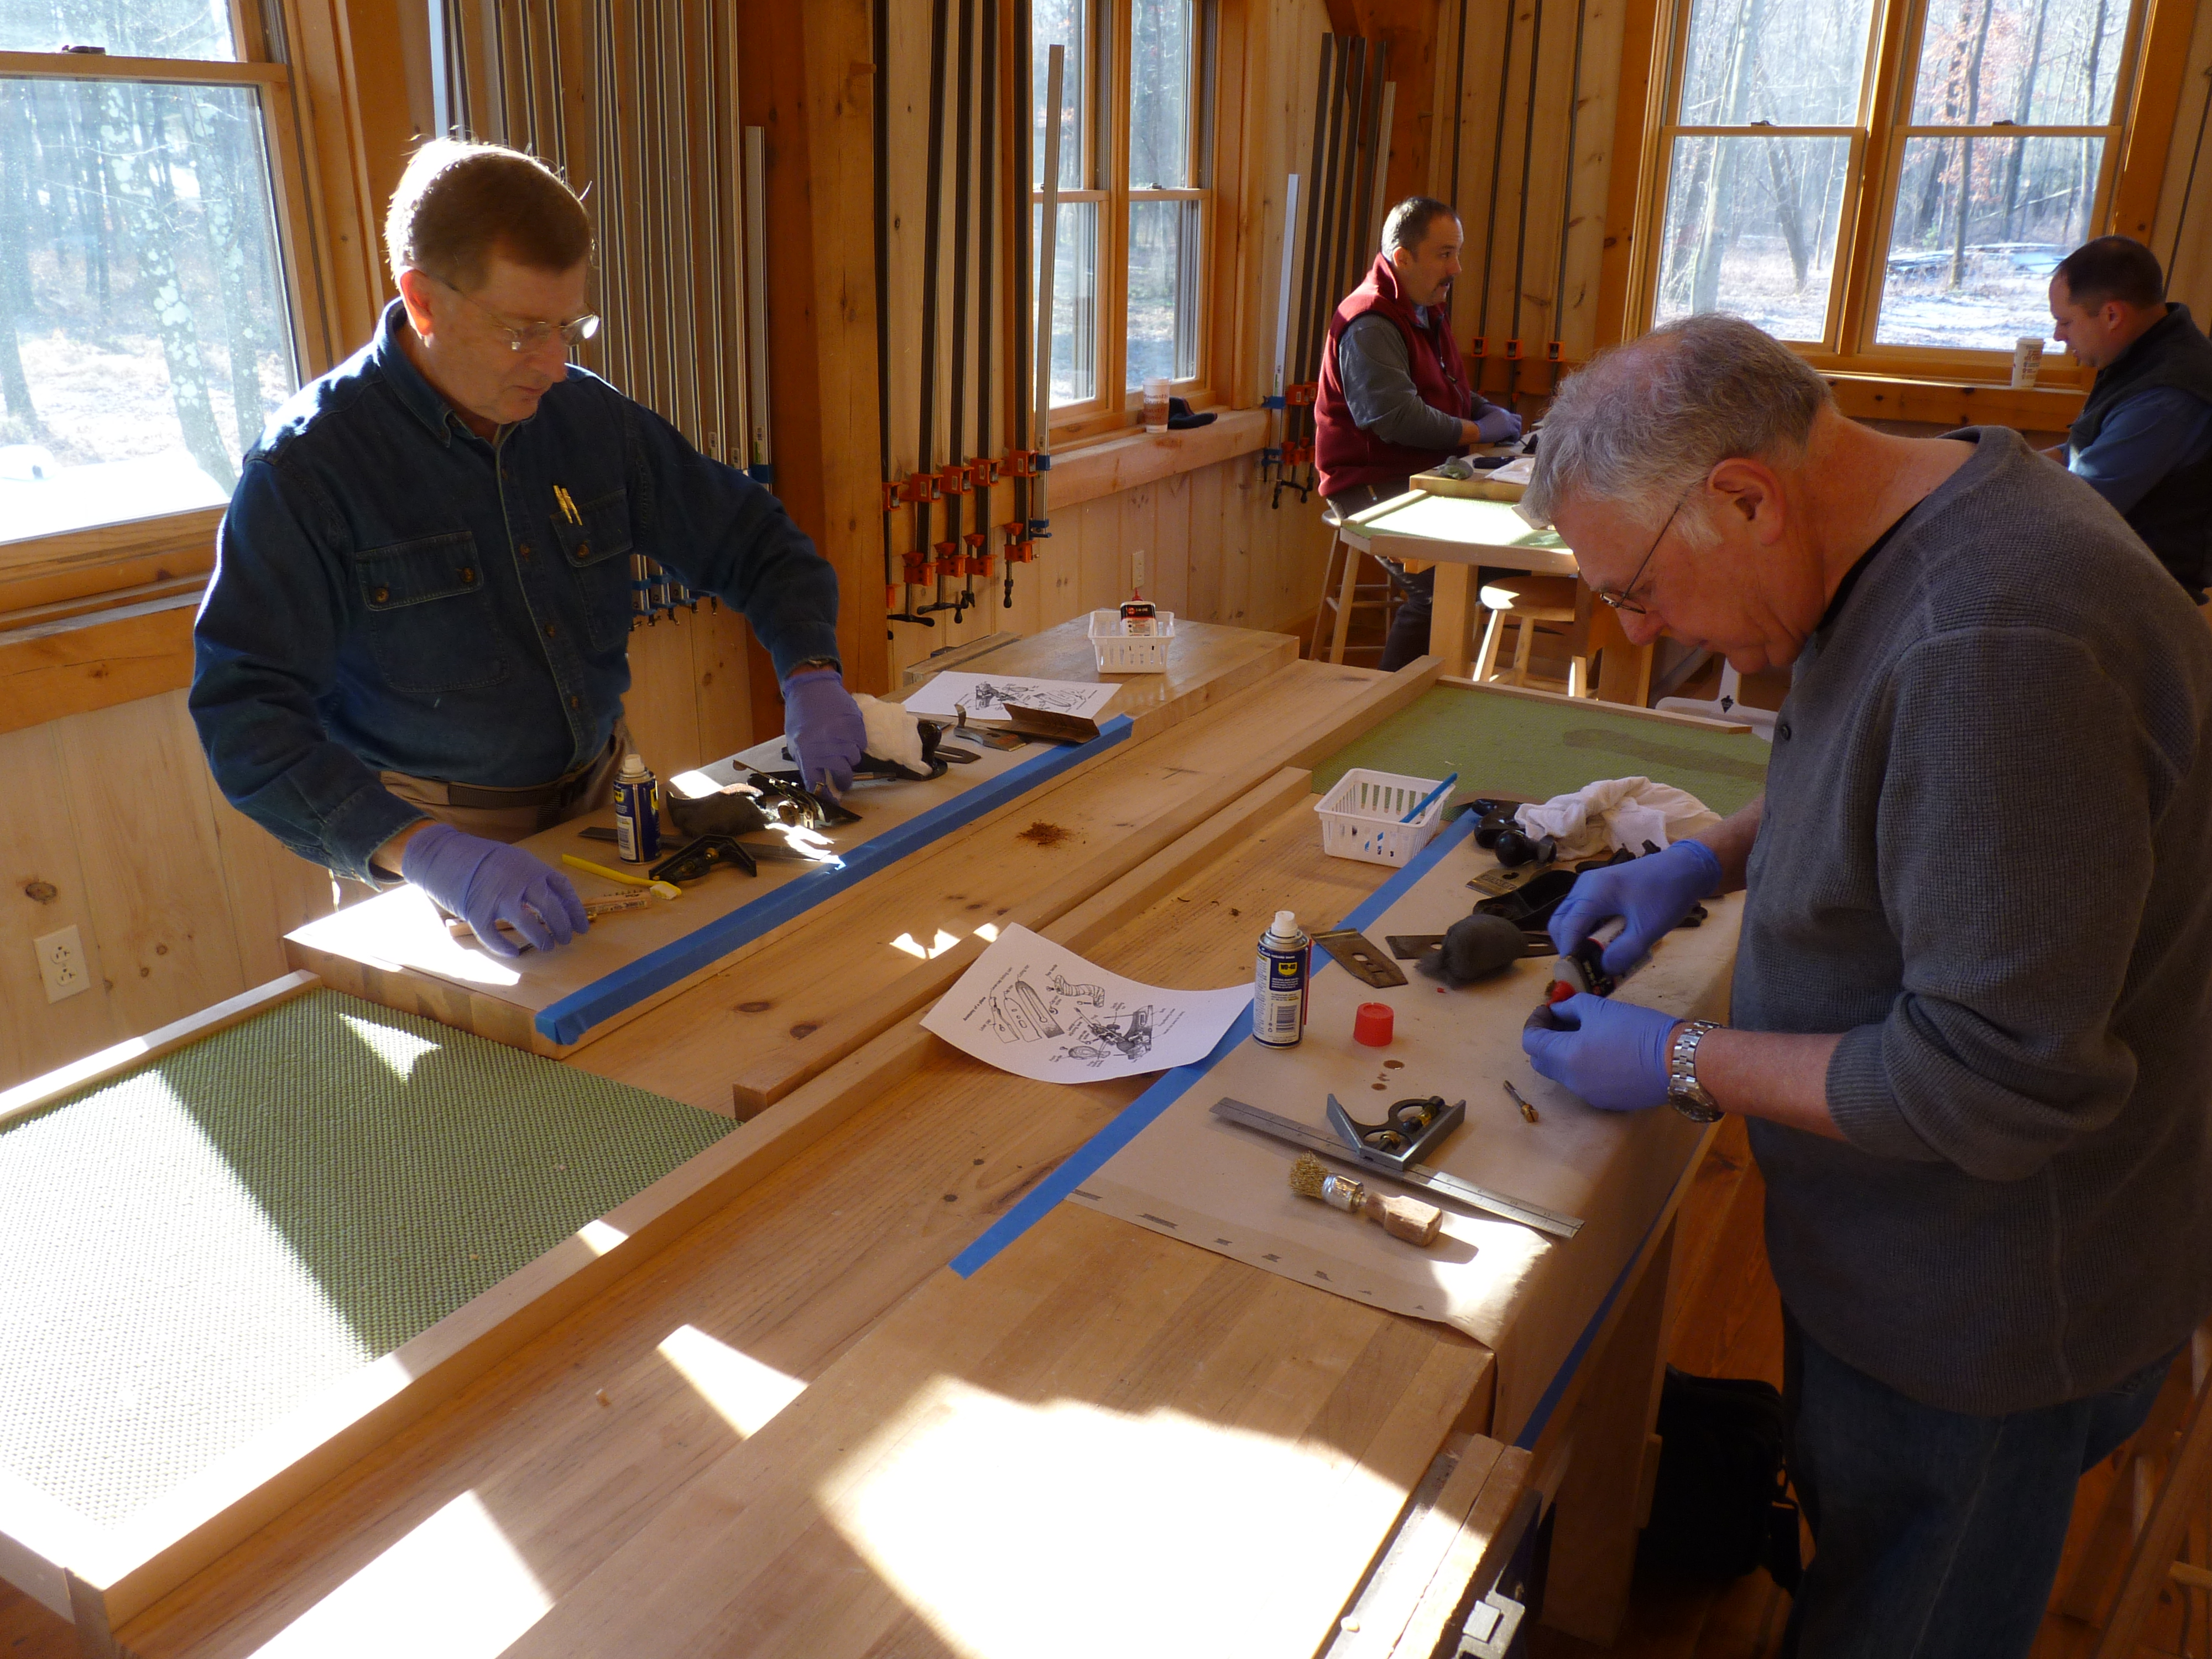
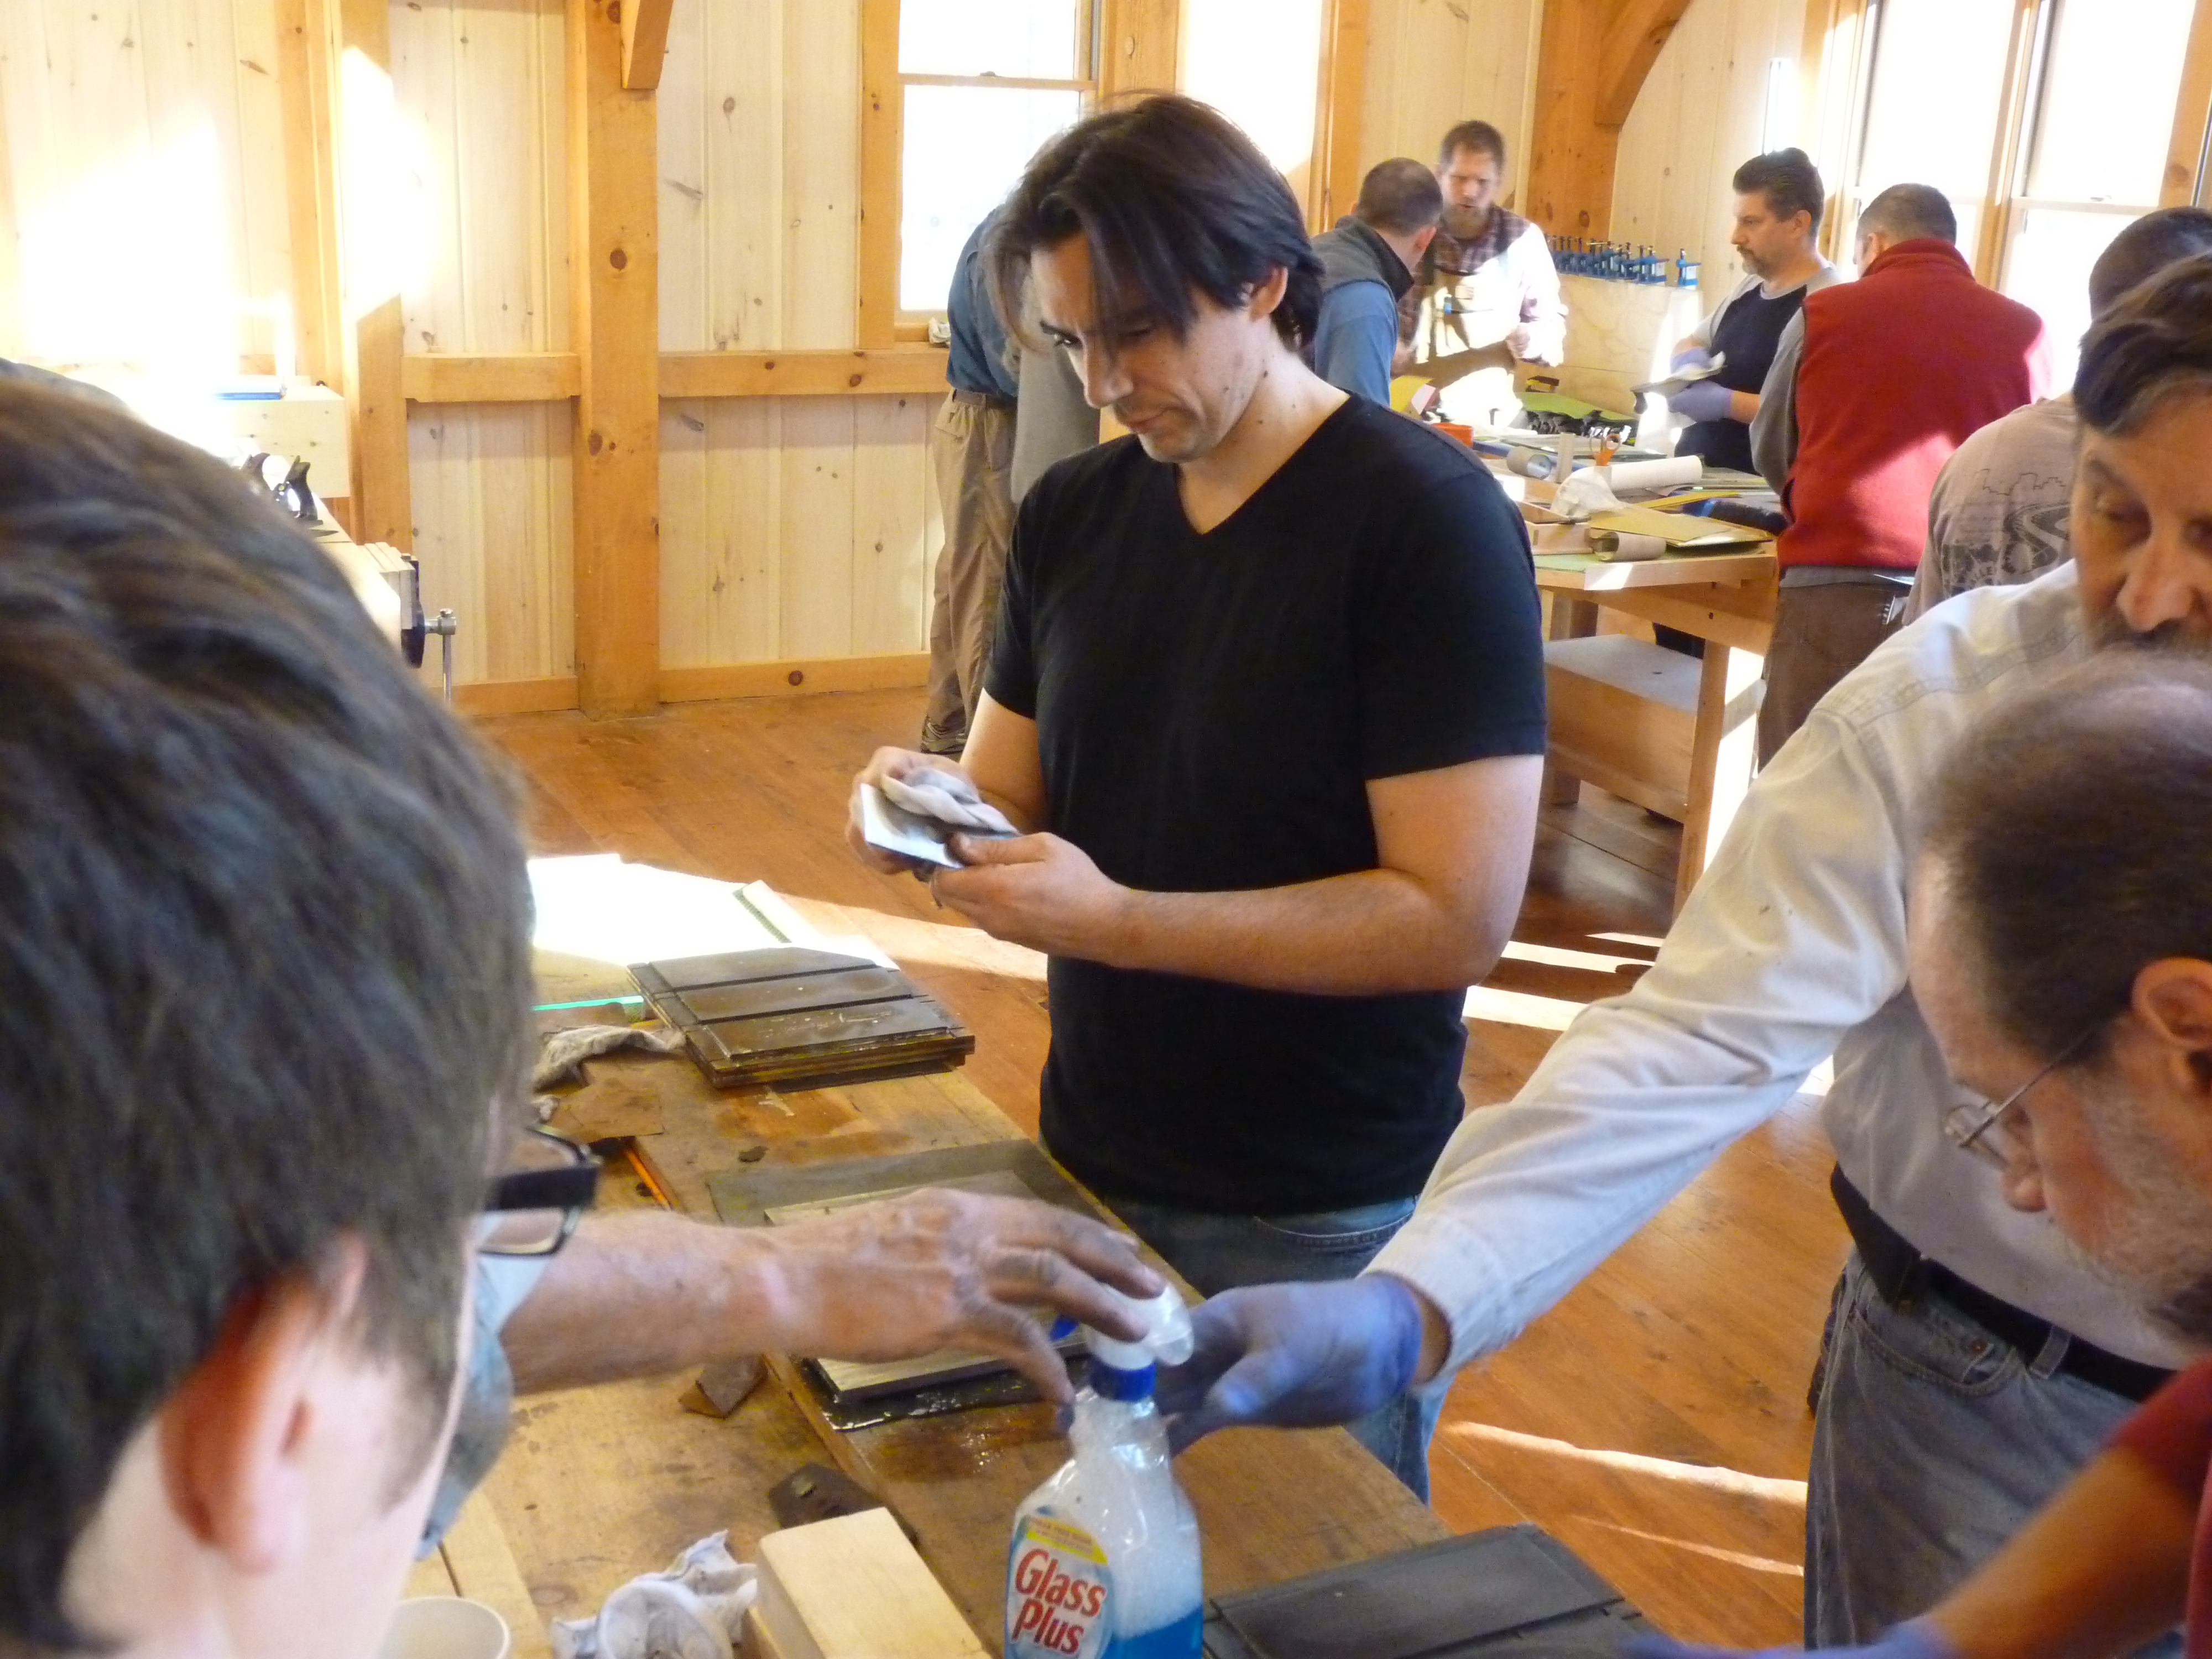
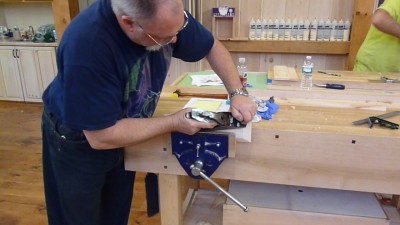
Stage 3 – Cleaning and Oiling – In this stage, we take apart every component of the plane, cleaning with brass brushes, toothbrushes, WD-40, sandpaper and steel wool. Once clean, we lubricate all moving parts with a few drops of 3-1 oil. Handles are tightened if needed. As we go through this stage, the function of each part is defined, including the proper positioning of the adjustable frog.
After lunch, the fun began with everyone putting their newly restored planes to the test. There was no shortage of smiles and exclamations of “Wow!” or “Look at that!” as these incredibly sharp tools tackled end grain and any planing task you can think of with ease. Participants practices raised panels and other planing tasks and the floor quickly filled with the shavings. See the videos below.
What a great class with lots of tips and tricks that can make or break a project. I loved the fact how willing these instructors were willing to share their knowledge not only about planes but about woodworking in general. On top of that the environment was perfect and has a warmth that all wood workers could appreciate. Thanks David, and fellow teachers I thoroughly enjoyed this class and now I am restoring my Stanley Bedrock in the same techniques I learned from your class.
David,
The class was excellent. The class setup was good, and each instructor was knowledgeable and able to make an impact. You all work well together. I came away with a positive feeling for sharpening and using my hand plane. I am certain that I will be a better woodworker as a result of your plane restoration class.
Thank you.
John
David, have been woodworking for over 50 years and yet I still learned a totally new and great way to quickly and effectively sharpen hand planes and chisels,thank you again for the great time and what an absolute and wonderful facility!
David, thanks to you and your staff for one of the best workshops I’ve ever attended.
The craftsmanship and precise instructions were exactly what I have been looking for in my new adventures in hand tools. I hope to attend more classes in the spring.